CAR Application
Installation Note: Use the link sent to you to download the apk file for the app. Based on your Android version and phone manufacturer, installing apk files from the web may not be allowed initially. If that is the case, it would open a new page where you can select "install apk from other sources" to allow installation of the app.
First Launch
After successfully installing the app, on first launch of the application, you will need to fillout a form as seen below.
NOTE: Your device needs to be connected to internet before you can submit the form.

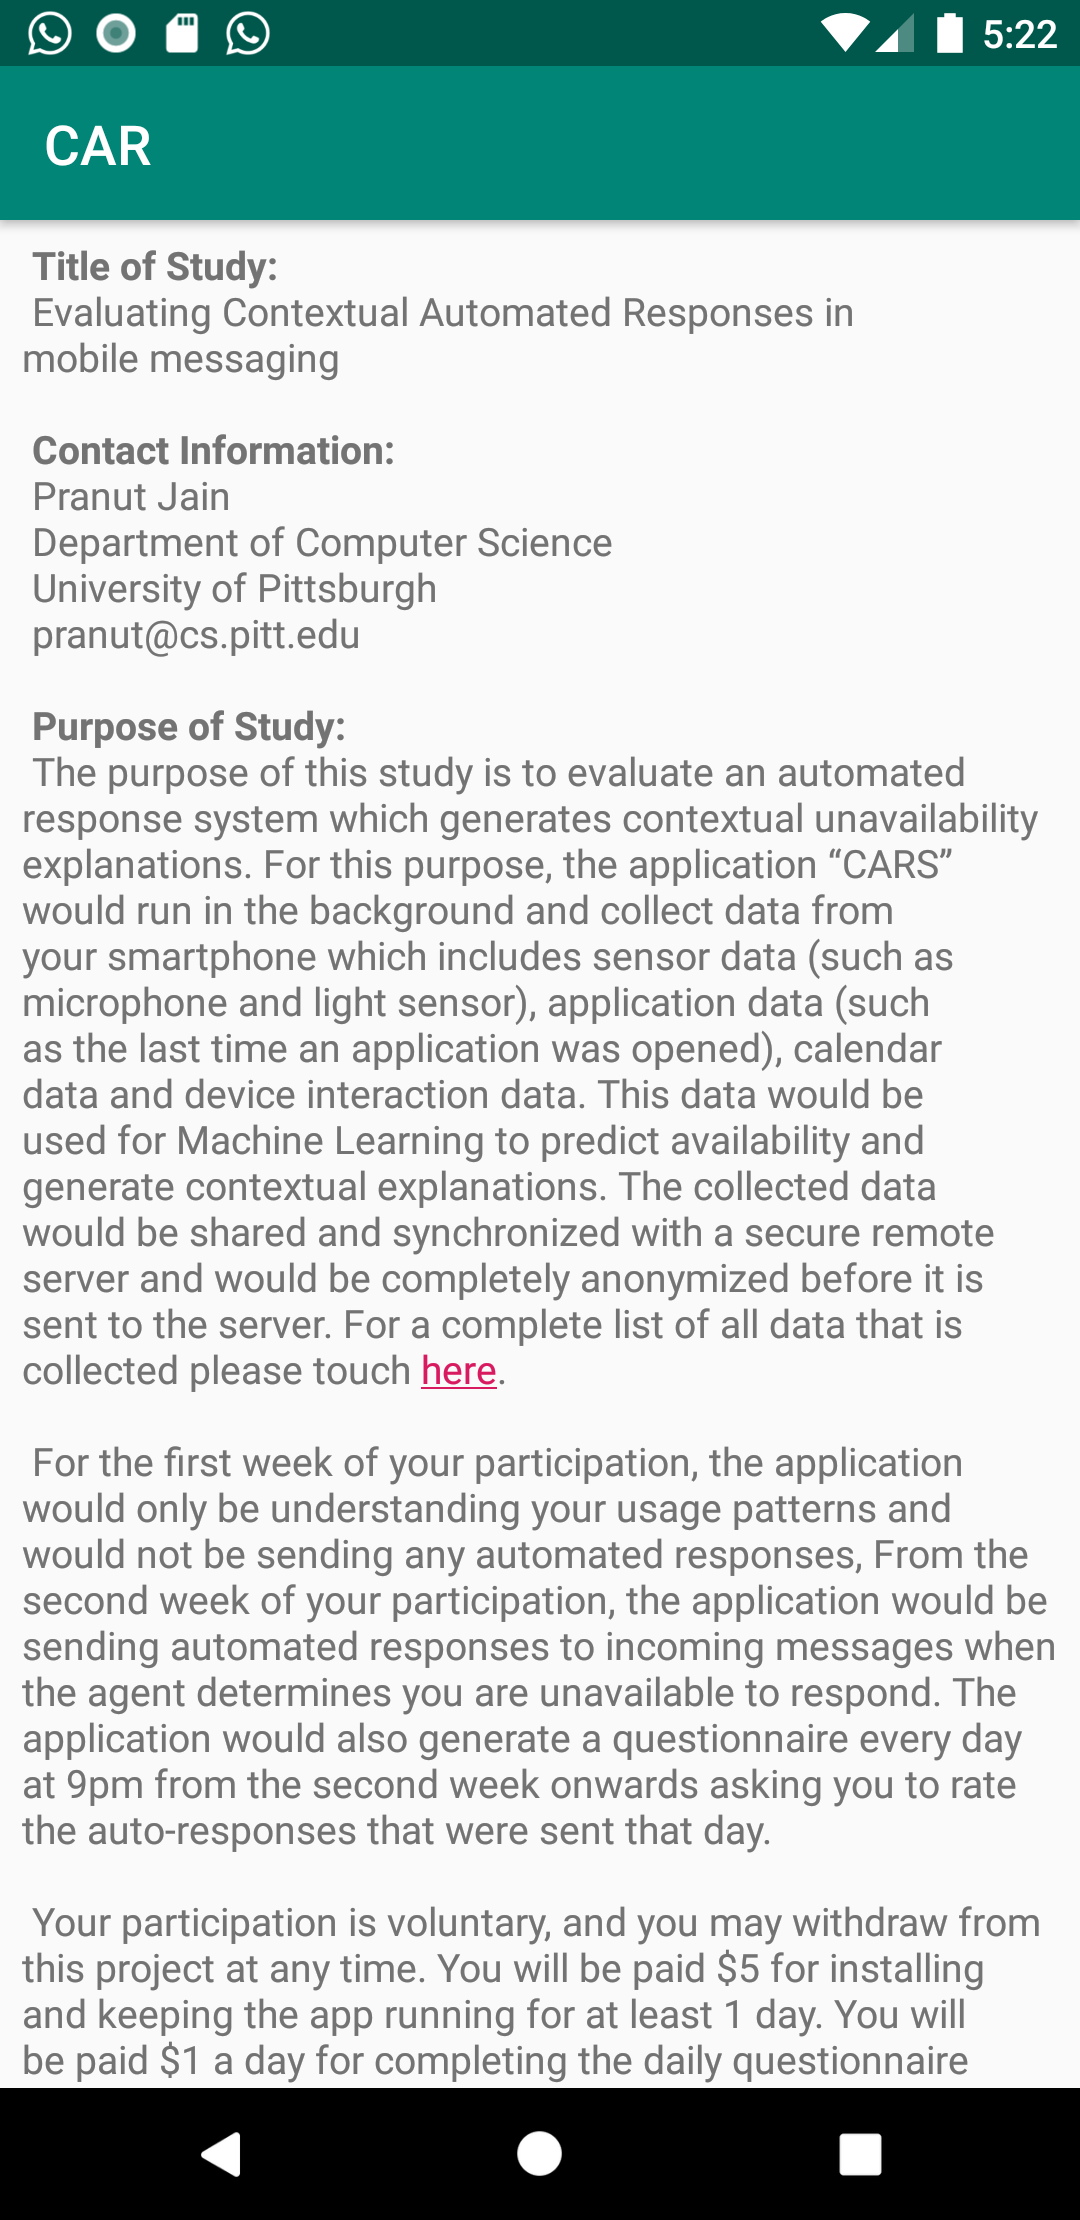
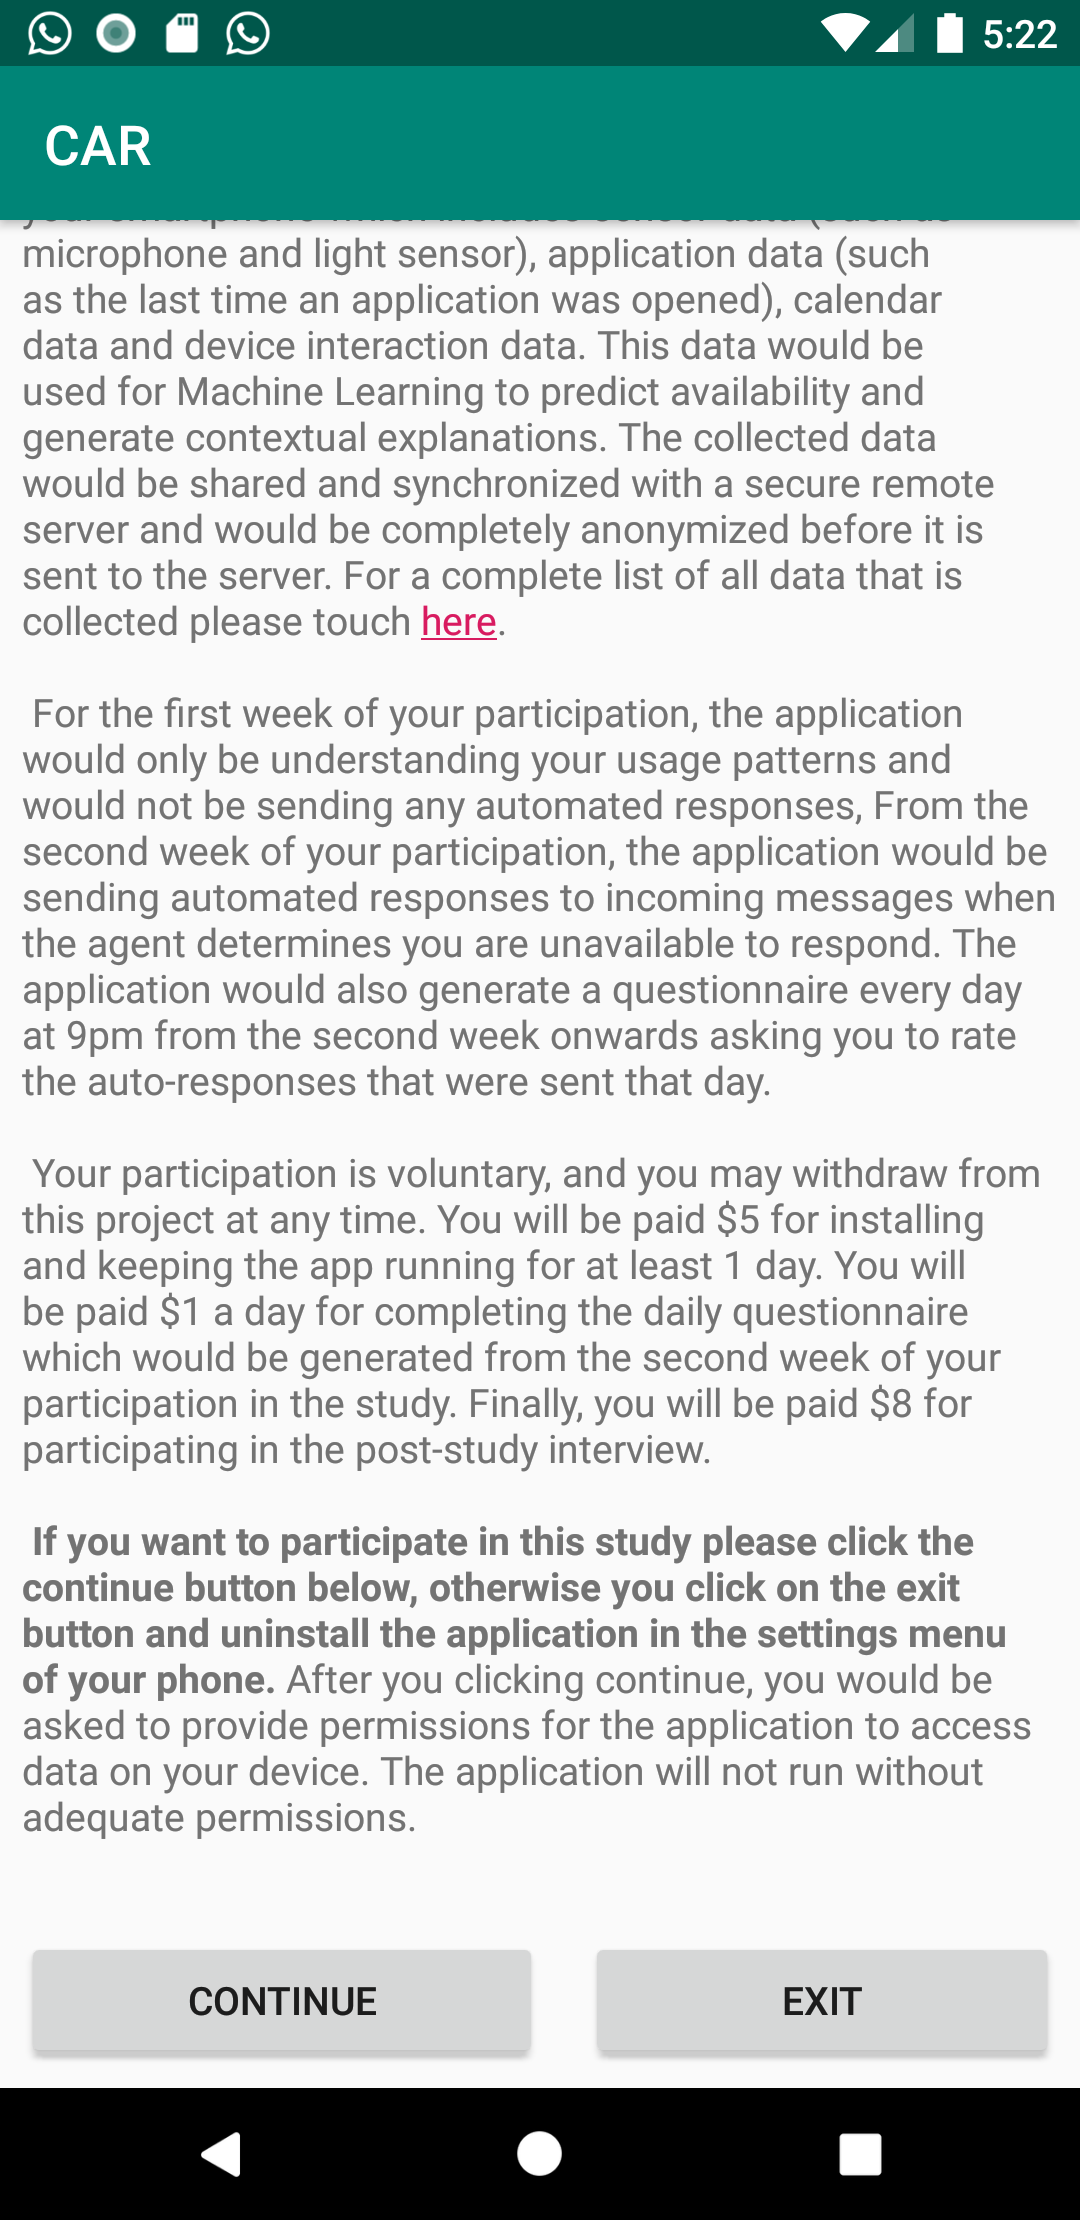
Click continue after filling the form. The next screen would show you information about the study. Read through it, and scroll at the bottom of the screen and hit the continue button.
Granting Permissions
The application needs a bunch of permissions to be able to function. You will see a dialog box with link to all permissions needed by the app, you can also access them on the left toolbar on this page for more information on which permissions are needed and their purpose.
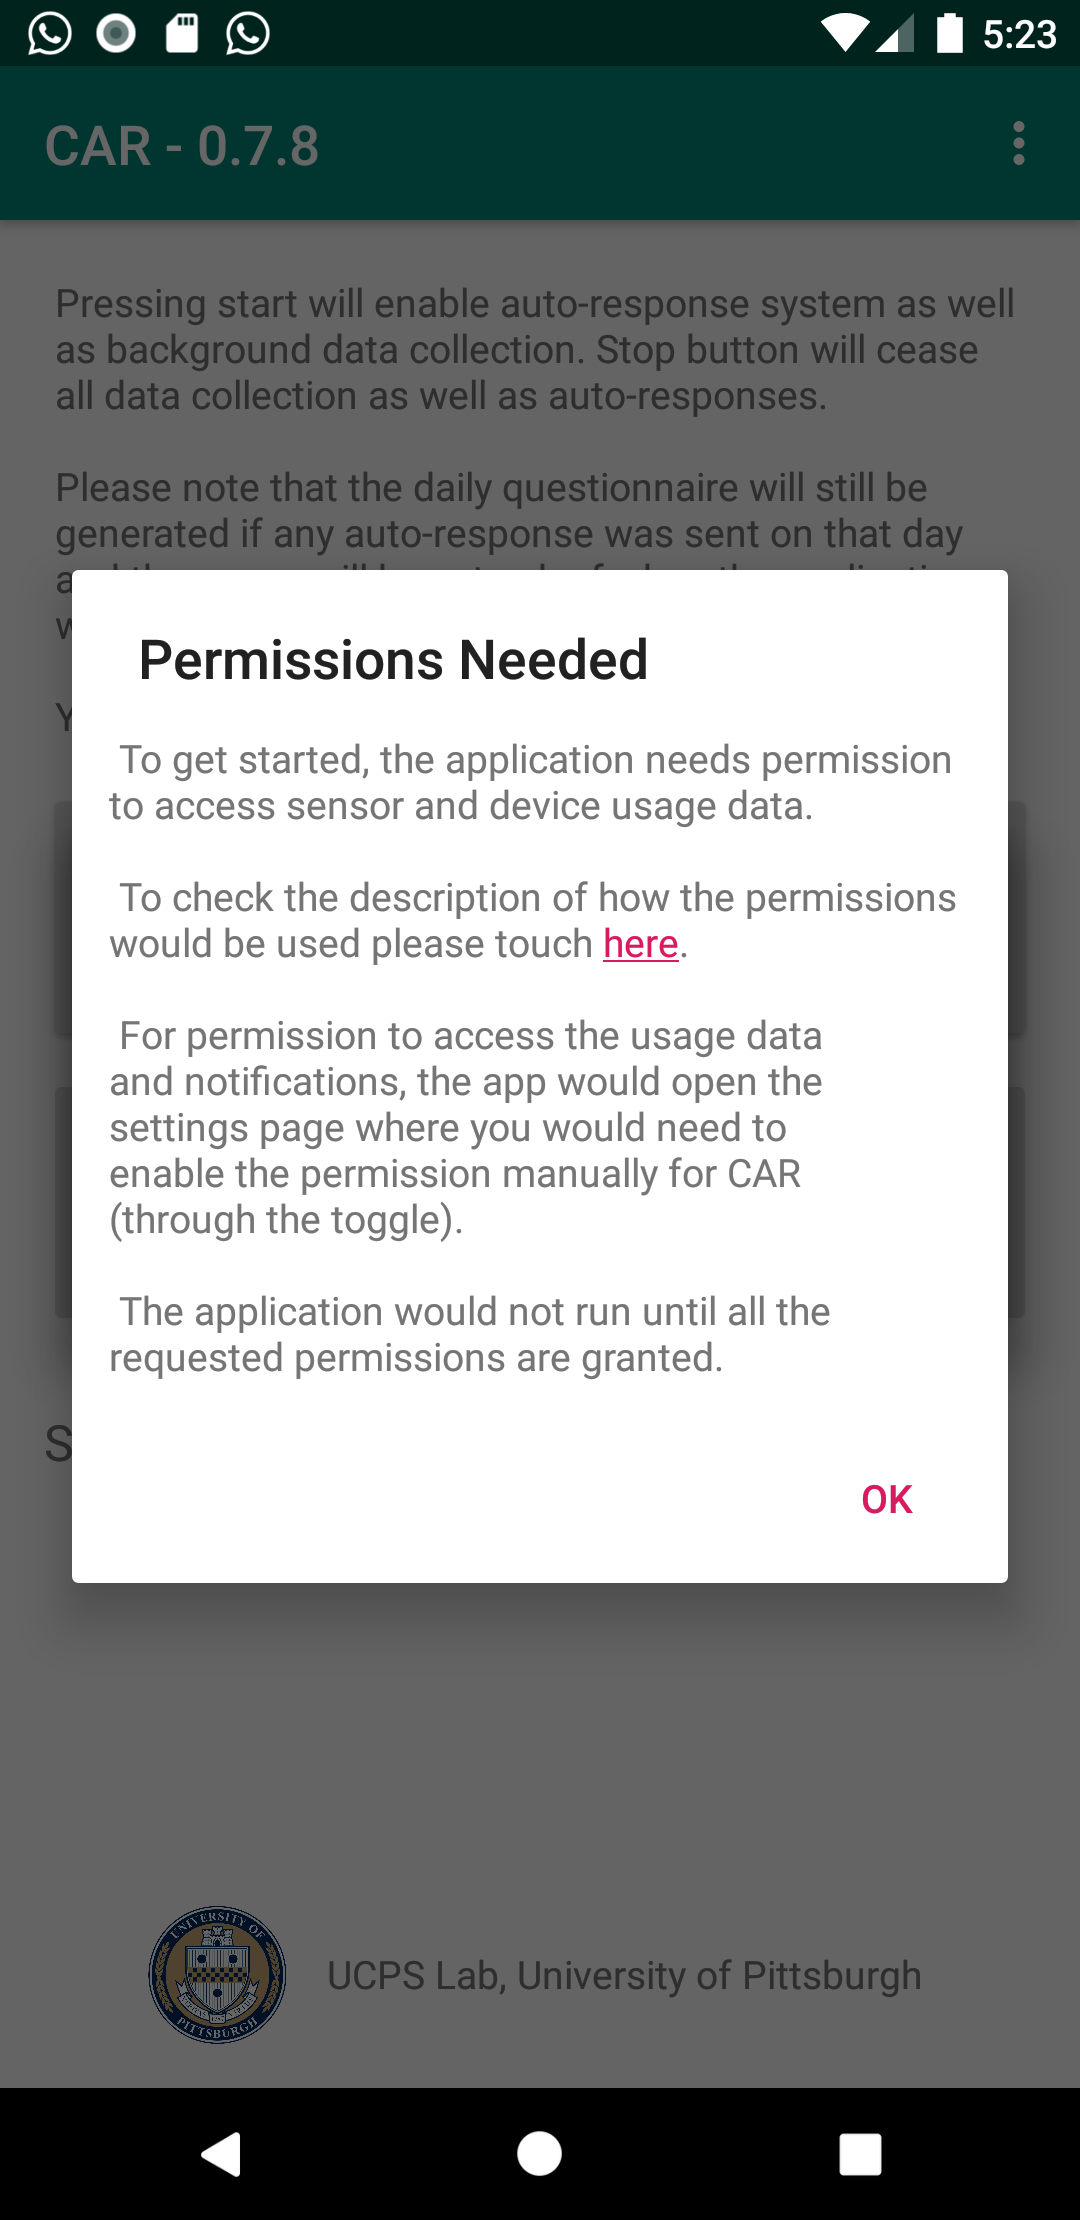
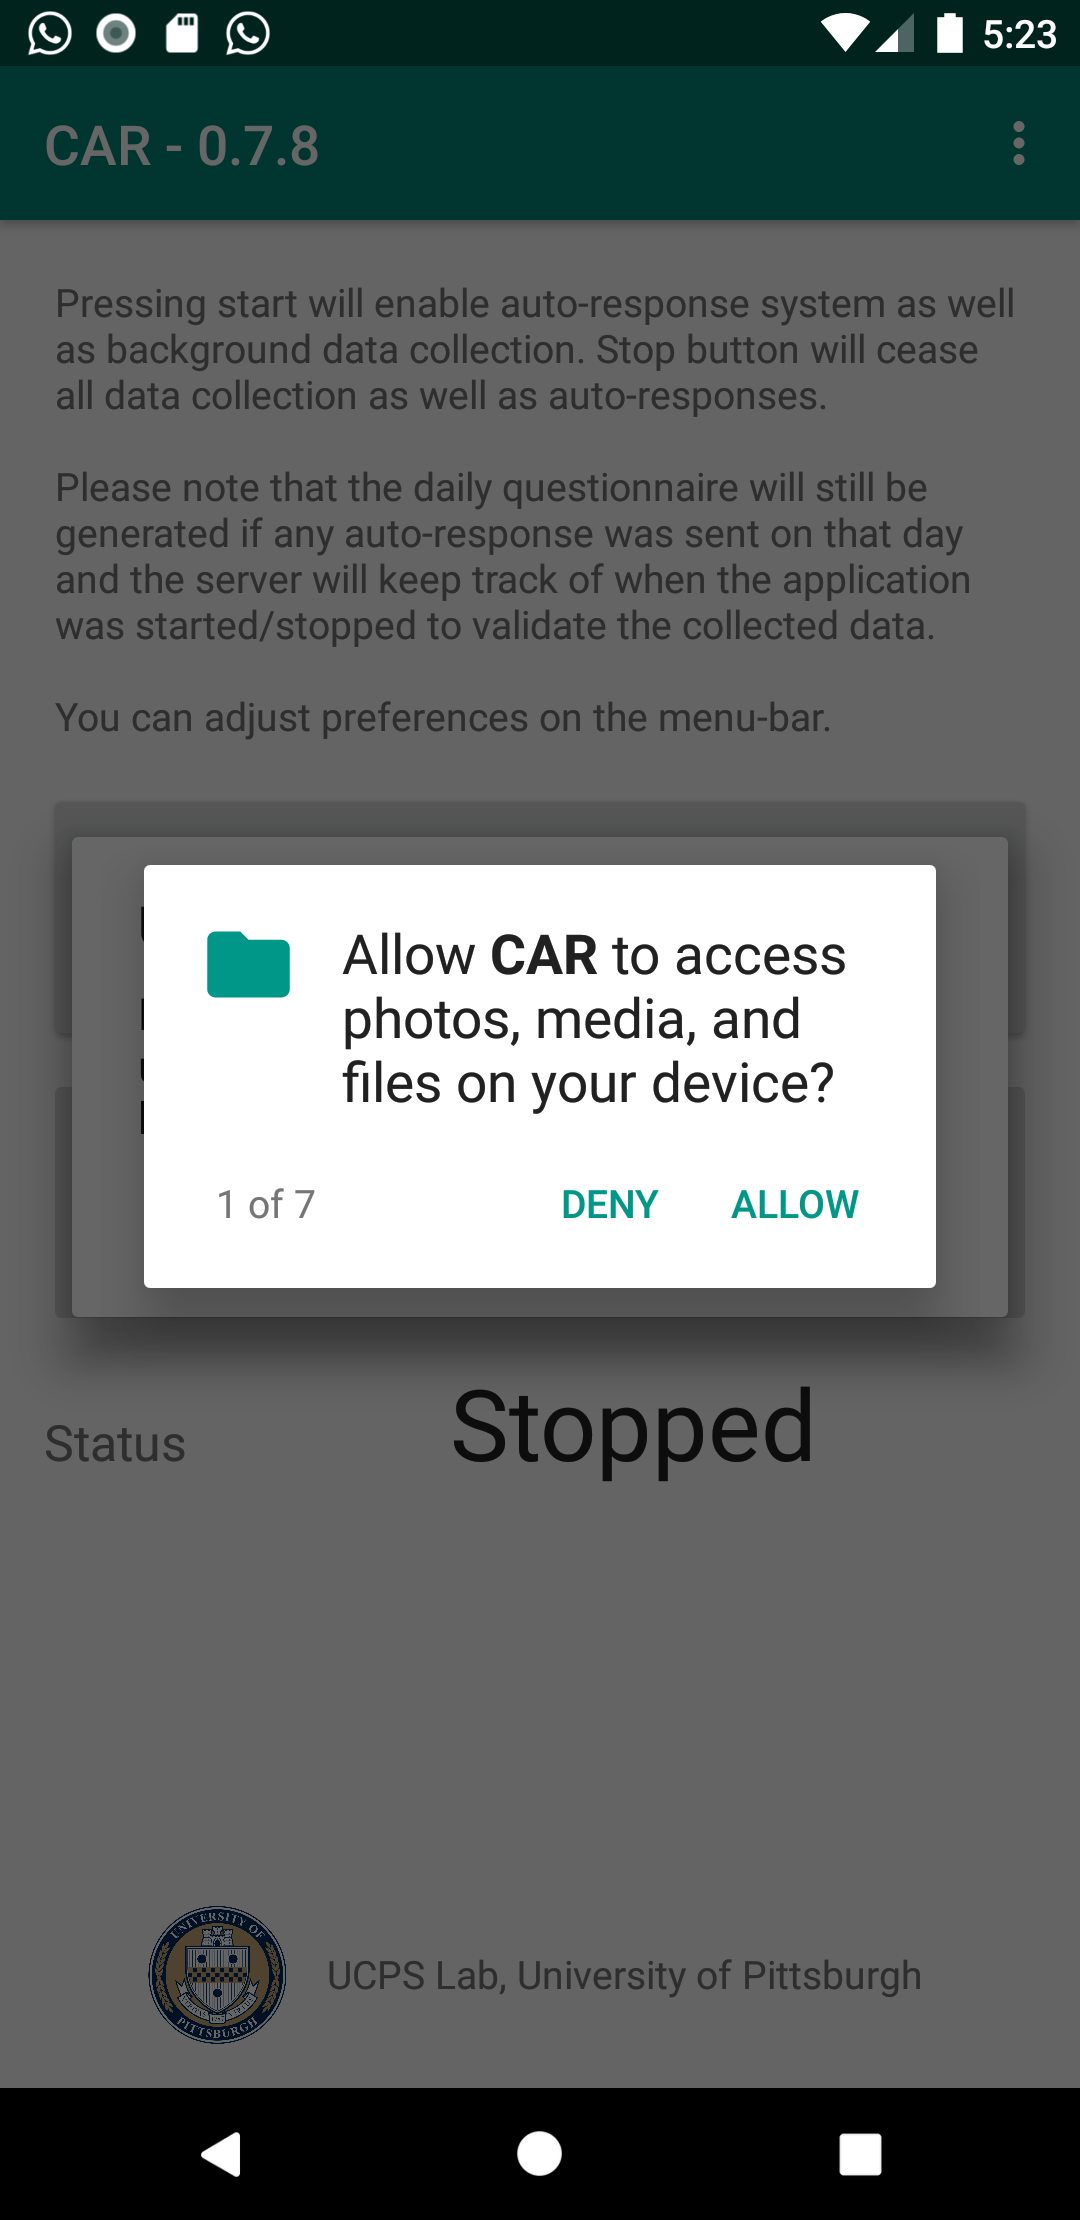
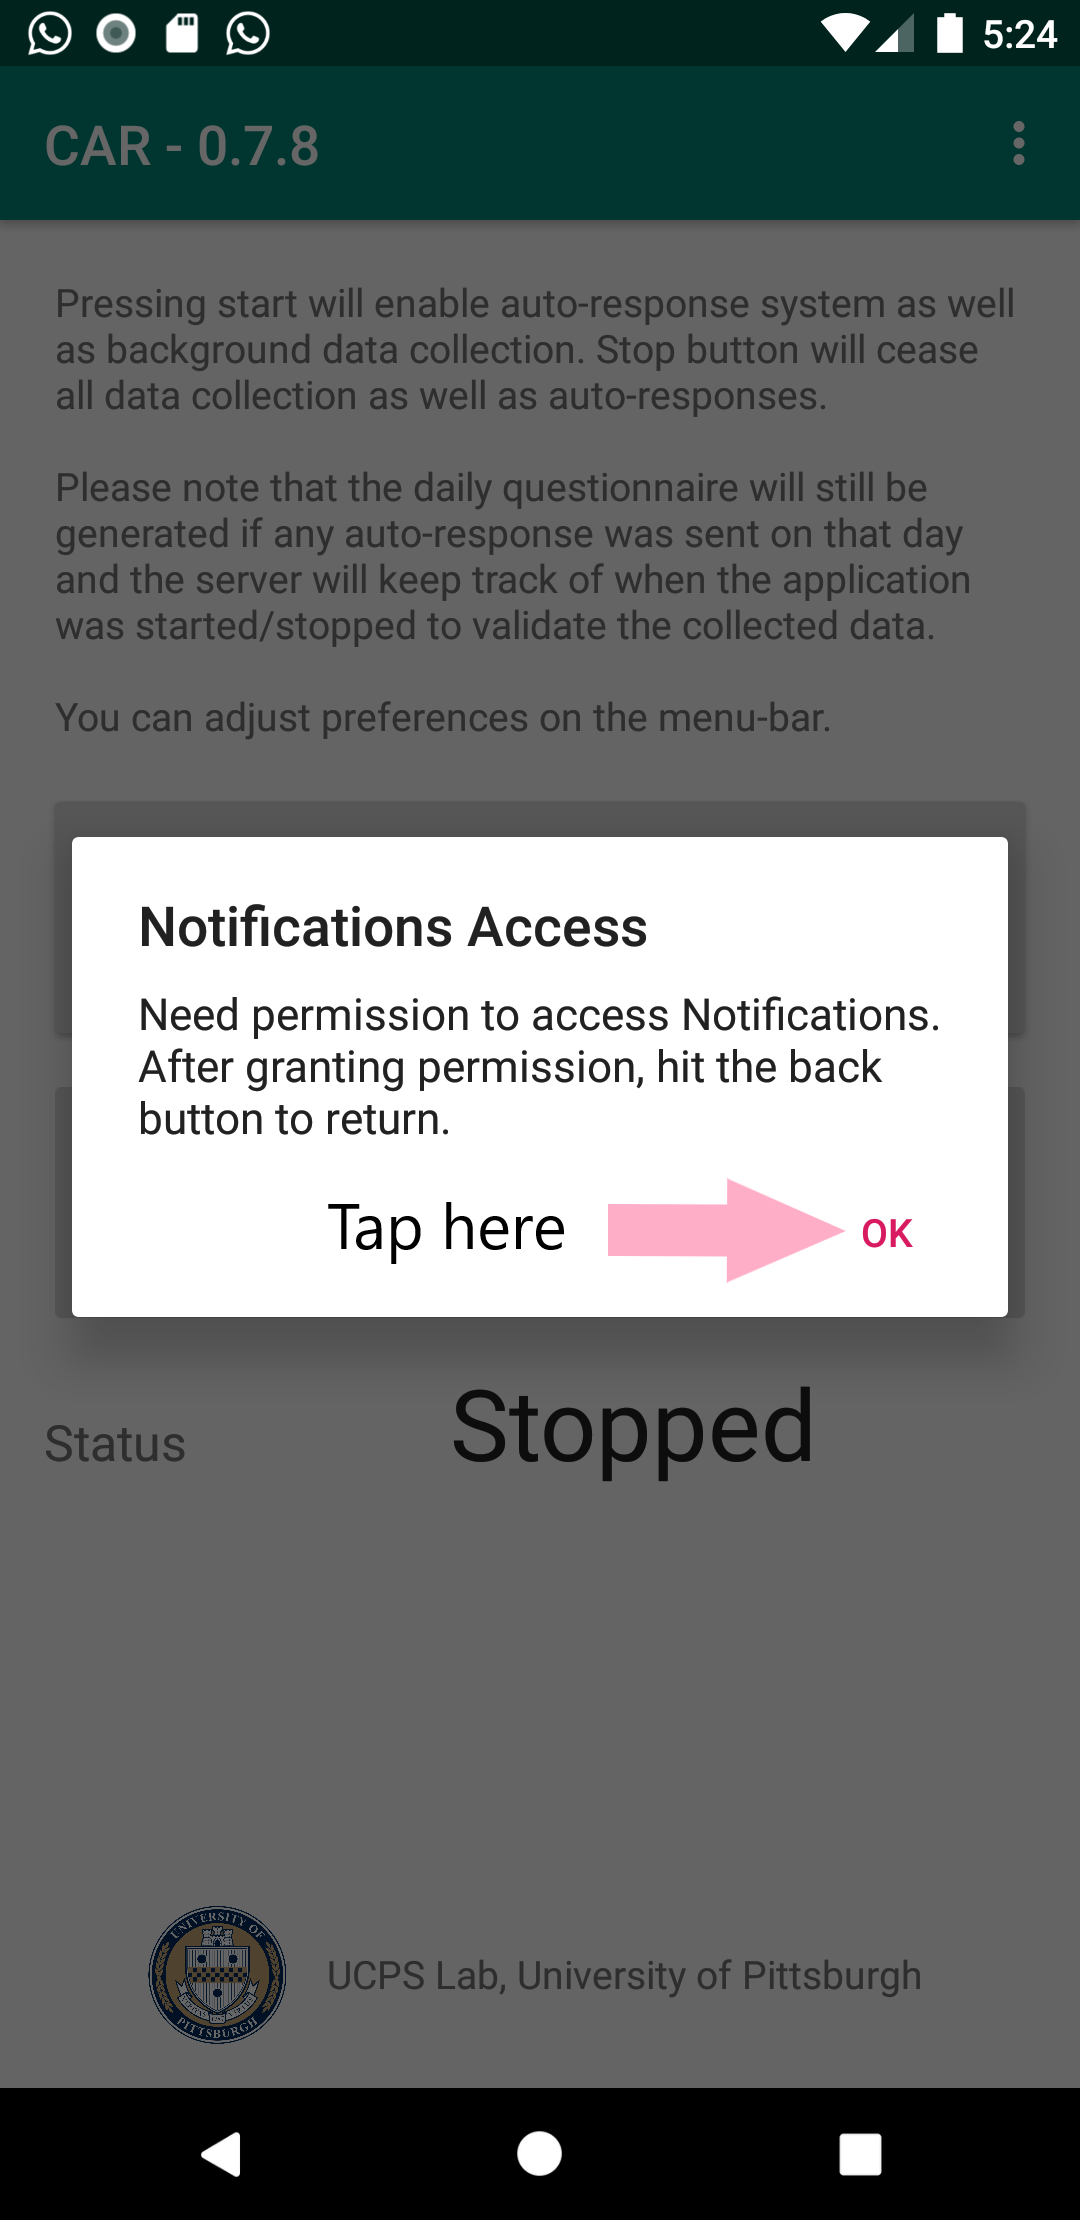
PLEASE NOTE: The app will not function or start without ALL permissions. Permissions like Usage Access and Notification Access would open the settings where you would need to manually toggle them on as seen in the screens below.

For usage access permissions,


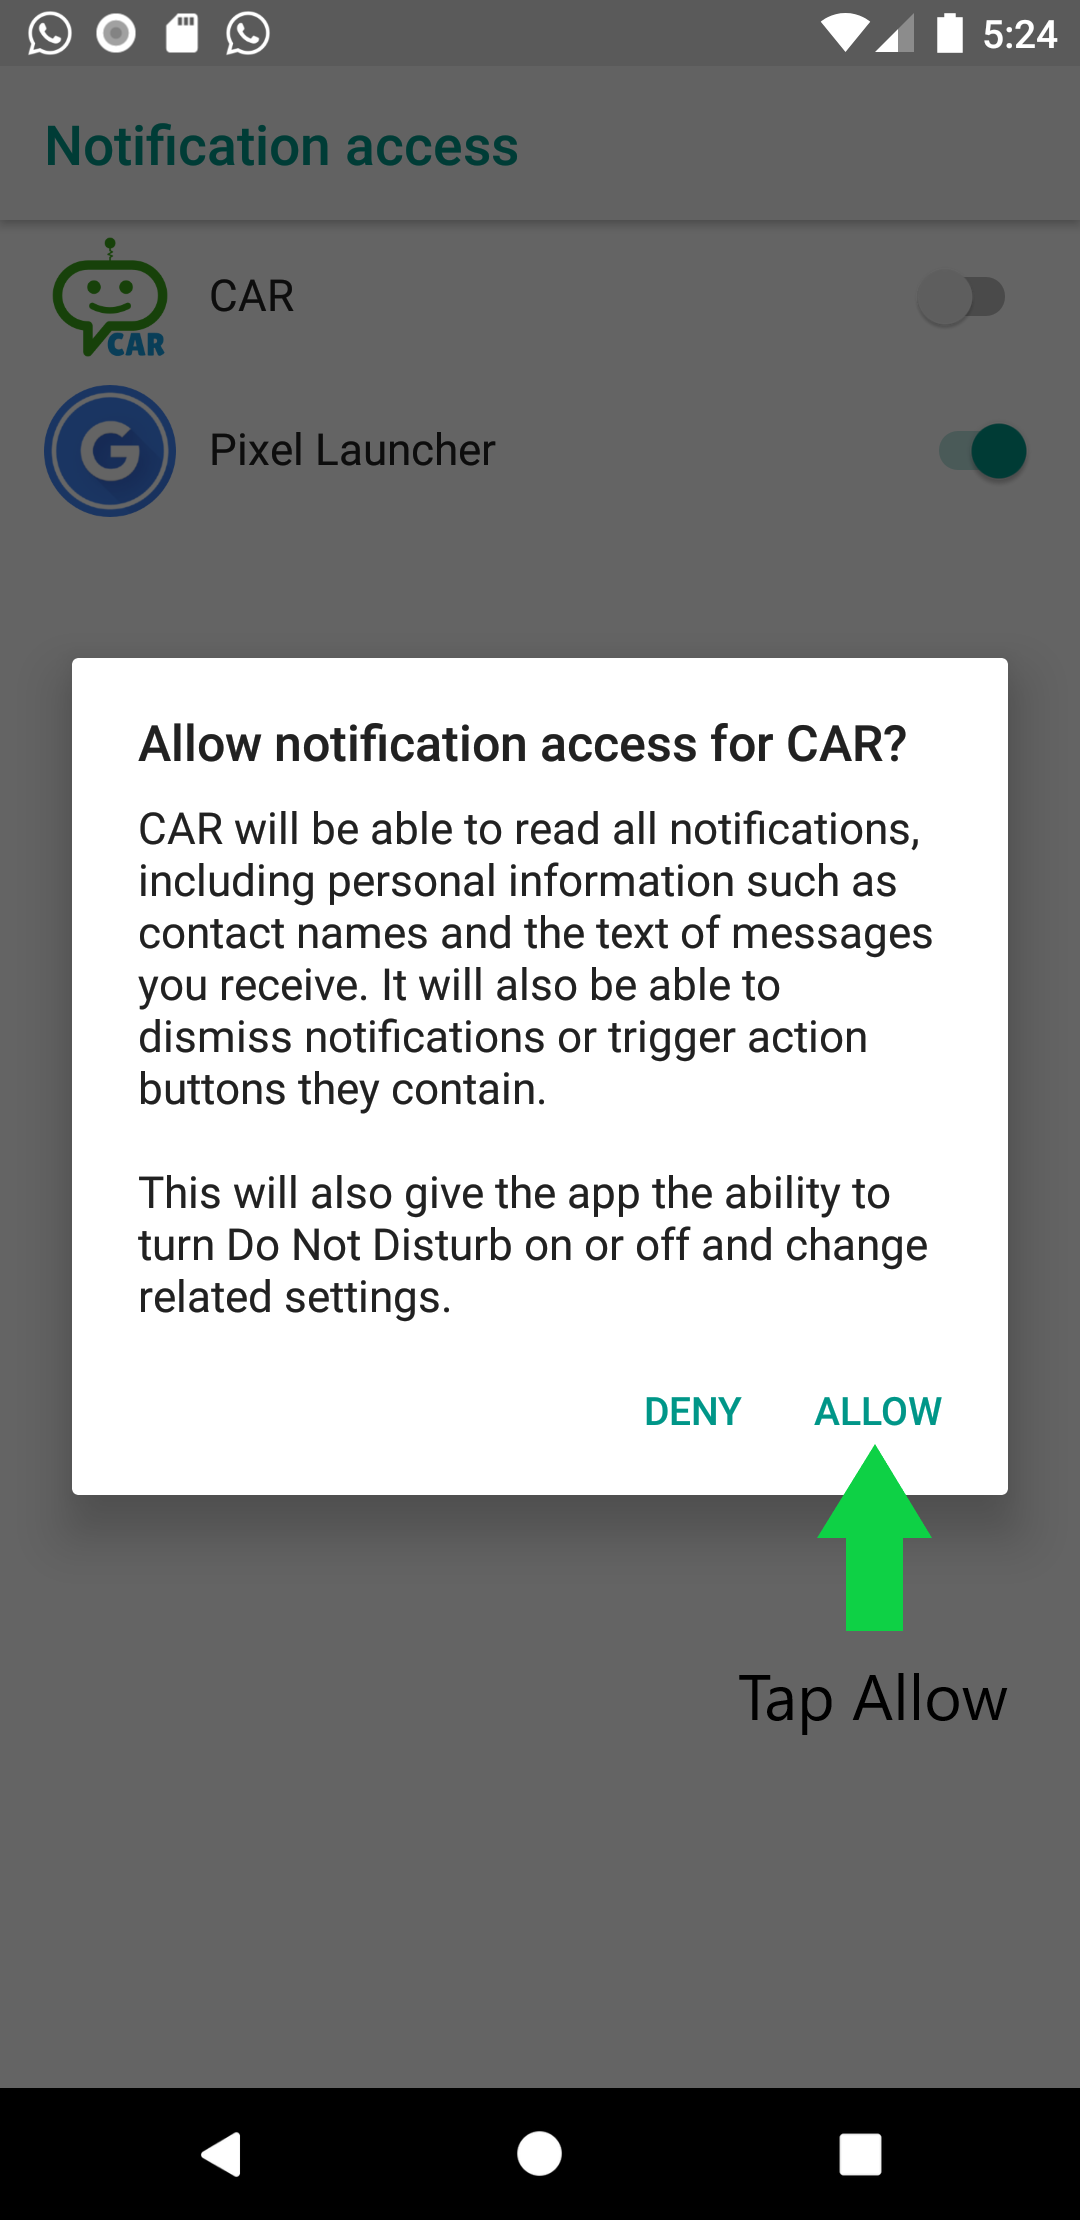
For notification access permissions,

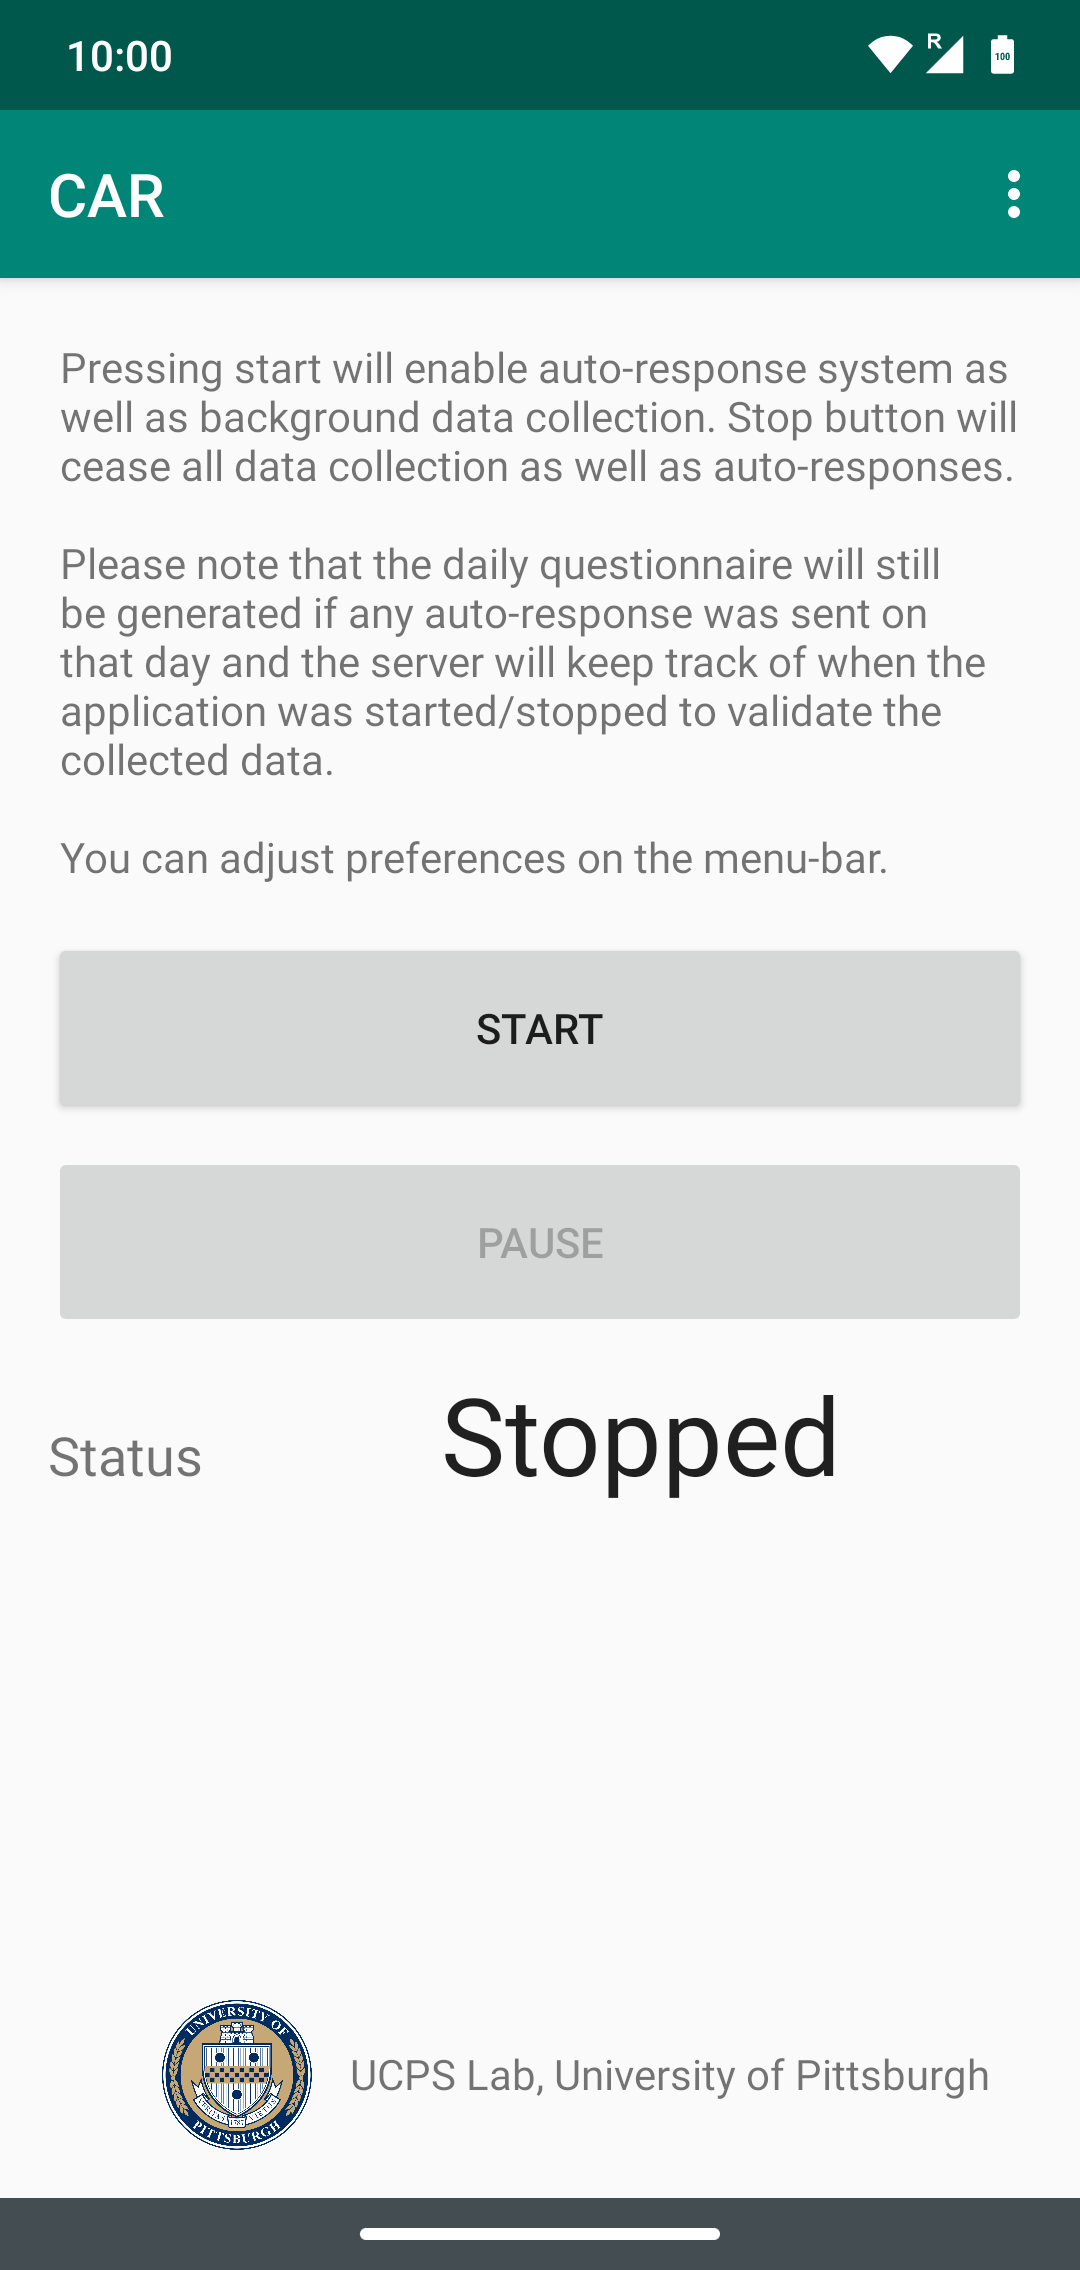
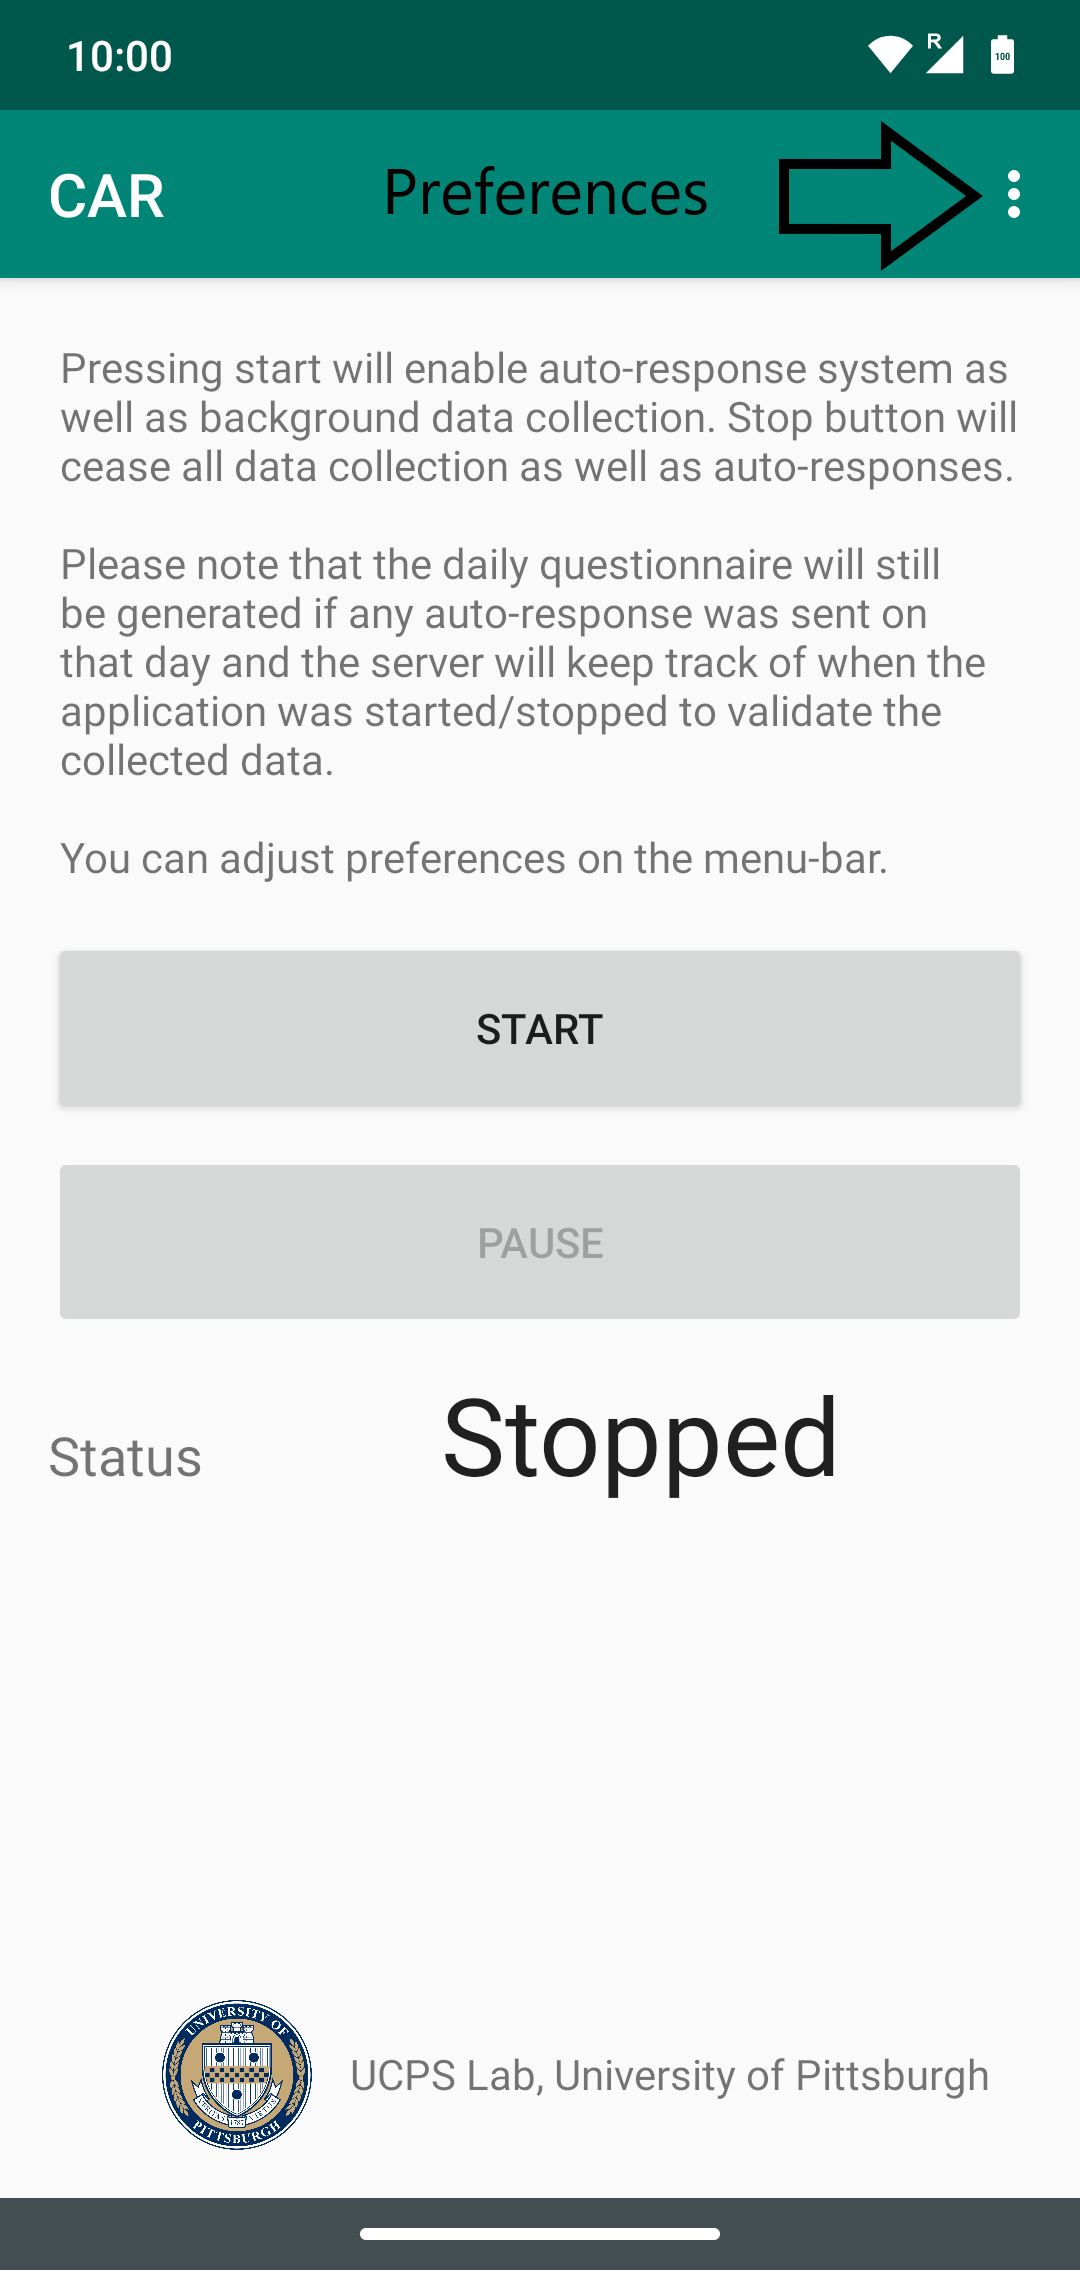
Main Screen
From the main screen you can Start and Stop the application as well as access auto-response preferences. Hitting the Start button would start background services as well sending auto-responses, while Stop button would cease all data collection and auto-responses.
Adjusting Preferences
Before hitting the start button, it's recommended to adjust a few preferences for the app.
To access the preferences, click on the three dots on the title bar as seen below.

Location Labeling
It is strongly recommended that you label some locations which would not only be helpful with availability prediction but also for construction of auto-responses. Tap on Label Location in the preferences to get started as seen below. A dialog box will open with a brief explanation of location labeling. Tap Ok to continue.


The location labeling screen is based on Google Maps and functions similarly. You can search for an address in the search bar on the top. Selecting or entering an address will automatically move the map pointer to that location. You can also manually slide the location pin on the map to the desired location. You can also use the slider to change the area respresented by that location. Selecting a slightly larger area also helps with cases when the GPS lock is not perfect. After selecting a region on the map, you can then either select a label for it (Home/Work) or can type in a custom label in the text box below preset labels. Tap Save button to save the label for that location. You can repeat this process for any number of locations you would like to label. It is recommended that you label all the locations that you frequently visit or spend time at. When you are done, hit the Finish button to go back to the main screen. You can also back out to the main screen at any time.

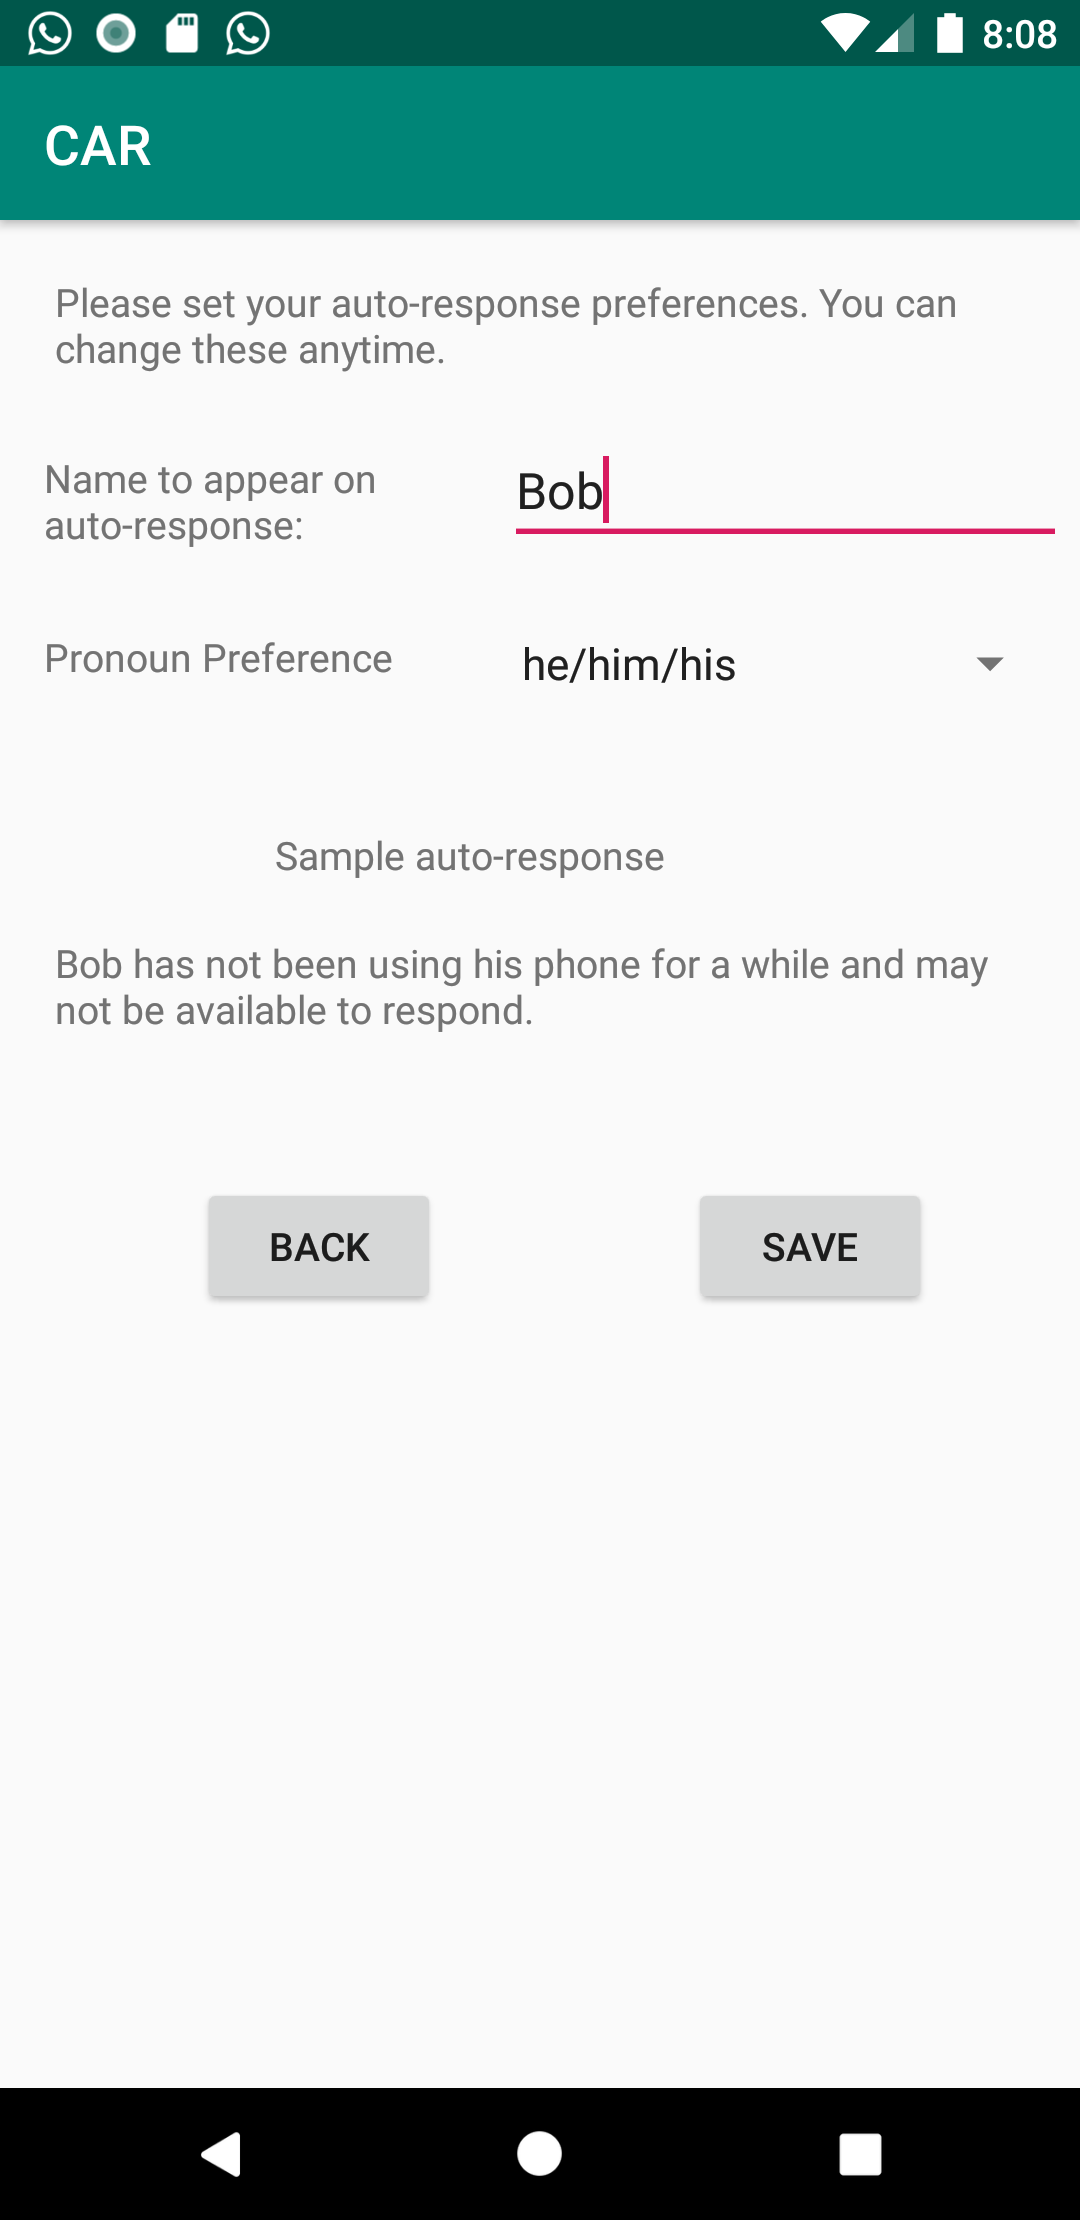
Auto-response Preferences
You can change name and pronoun preference in this screen. It also shows a sample of what an auto-respons might look like. By default, it would use information from the first launch form. Tap Save button to apply the changes.