Setting up Libraries in Mentor Tools
Getting started
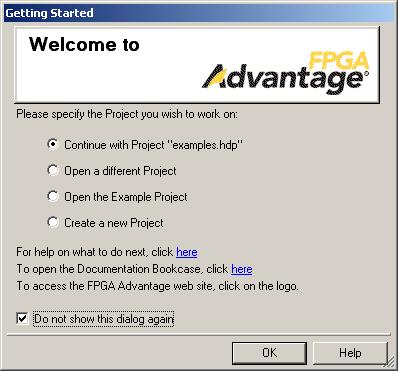
You'll see the following window the first time you open FPGA Advantage. Click the Do not show this dialog again checkbox and click OK.
The project file contains information about the libraries that you are using. Let's create your project. Go to File | New | Project.

Your project name will be "tutorial". You can enter a short description if you wish. The directory must located somewhere inside your PERSONAL DIRECTORY, for example: "h:\1502_project". The name of the default working library will be "ALU". Click Next.

Click Next here, too.

Click "Open the Project" and then click Finish.

This window is the Design Manager. The Design Manager is your tool for creating and managing libraries. A library is simply a collection of designs, or components, which may be used within other designs (in other libraries).

Click the project tab ( ) to see your library mappings.
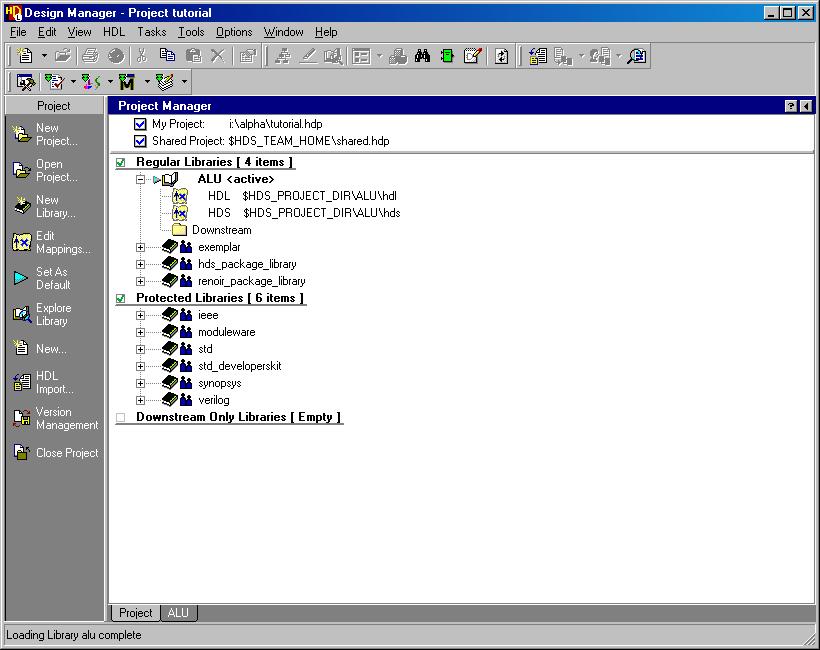
In creating our project, we have already created a new library called ALU. This is the library in which we'll be designing the ALU. After you complete the design of the ALU, you will use a component from this library in the design of your MIPS processor. We need to create another library, COELib, which will contain pre-made designs that you will use in the design of your ALU. When we create a new library in the Design Manager, we're actually only creating the path mappings to the design data. Design Manager has already created the ALU library for us, so we just need to create the COELib library. Let's get started.
Go to File | New | Library.

From this dialog box, choose "Regular" and click Next.

The library name is "COELib" and the root directory for this library is I:\1502. Click Next.
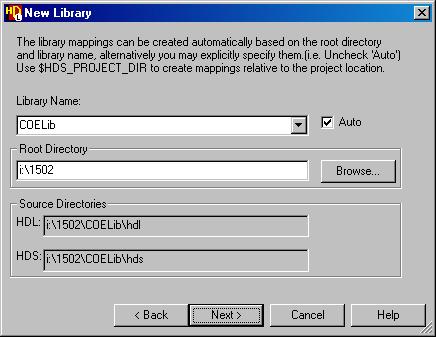
In the following window, unselect "Make this the default library," since by default your new designs will be saved in the ALU library, not the COELib library. Next, click Finish.

You now have two libraries. The ALU library is the library where you will be
storing your designs for this tutorial. The COELib library
is the library where we have provided you several components that you will need
later on. Use the tabs (![]() ) at the bottom of the Design Manager to switch between the
Project View and the Library View. Go to the Project View.
) at the bottom of the Design Manager to switch between the
Project View and the Library View. Go to the Project View.

Here you'll see the new libraries you've added, plus several others that are there by default. If you double-click the COELib library, a new "Design Explorer" tab will open that will allow you to look at the contents of the COELib library.

If you are the second member of your group to use this software, do the following. Otherwise, skip to the next section.
As the second group member to open FPGA Advantage, you will need to open the project file your teammate created. Go to File | Open Project.

Browse over to your group directory and select the tutorial project file. Click OK on this window.

Your library mappings are now consistent with your partners!
Now let's start building our ALU...Click here to continue.